I think it is a requirement of teachers to...
- Love clipboards... and have about 1 million.... you never know when you need one.
- Have a near obsession over post-its. Cant they be used for just about anything!?!? Math... yes.... Science... yes... Reading... always.... Love them!
So what's a better way than incorporating the two into a great gift for my Secret Pal at school. She's a teacher.... any by that fact... she must love school supplies. What teacher doesn't??? The smell of crayons... having paperclips in a wide variety of colors... and when paperclips cant work pull out those marvelous big guns.... the bracket clips....
Ahhh yes.... teacher supplies.
So this is what I made for my wonderful teacher friend:
It took me about an hour and a 1/2.... because I am a perfectionist.... but I did all 3 in that time! :) That's 1/2 and hour per gift! (yes... I am a math teacher... )
Here are the supplies I needed:
Lets start with the post-it note holder.... soooooo easy. Get yourself a cardboard coaster from a place like Chili's.
 |
| Grab your trusty mod podge. Mine is glossy, but I only used it as a glue. |
 |
| The secret to all mod podge: some sort of squeegee!!! You must press out all those air bubbles or your paper will crinkle and it will not be pretty. |
 |
| Use an exacto to carefully cut around the edges of the coaster. |
 |
| One side was covered in dots, the other in black and white. After I covered both sides, I dipped my brush in black paint and painted the edges and speckled the side as if I were stenciling. I really like the effect. |
Then just add a big clip with some post-its and you're done!
Clipboard:
 |
| Paint the sides first. |
 |
| Cut your paper to the size you want. I wanted to use 2 different types of paper.... I started with the bottom and worked my way up. |
 |
| Mod Podge only the bottom. I used mine only as a glue; I did not put a top layer of it on. |
 |
| Use that squeegee to get it nice and smooth with no bubbles. |
 |
| The toughest part was cutting around the silver head area. You could paint the top black and skip all the cutting, but I only wanted it covered in paper. |
 |
| I used the same painting technique around the board like I did on the coaster. Then add a little bow... so cute! |
 |
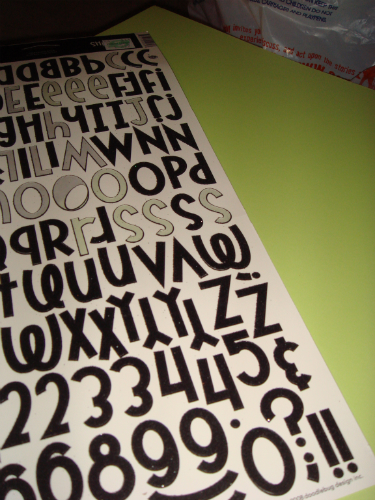
| I used stickers to spell out her name and some kinda paper boarder sticker that I glued on to add a little whimsy to the area where the 2 papers meet. The back of the board looks close to he same as the front. Only difference is I didn't add her name to the back. |
|
Ta-Da! Done. And if you want to know more about the teacher survival kit... you can find
that post right here. Or a little more about
secret pals.... you can check here.
Have fun crafting.... and if you don't have a secret pal, maybe make something special for that wonderful custodian or secretary who we all know the school would burn down if we didn't have either of them :)


 !!!!!
!!!!!